Well, cats are self-groomers and can take good care of themselves. Wild and feral cats don’t have any caretakers or groomers. So they can take care of themself. But feral cats can’t take some care like tooth brushing,trim cat nails, checking their ears, and cleaning dirt and debris.
Pet cat owners can’t leave the responsibility to the cat’s self-grooming. They must take care of and groom their cats, and grooming is also very important for pet cats as they live with humans. There are children in the house, and guests also come to the house.
So, if a pet cat isn’t clean and groomed, playing with children with him is very unhygienic, and guests will also be comfortable with a dirty and smelly cat.
So, grooming and taking care of your cat is a very important-no doubt.
Table of Contents
What is included in the cat’s grooming and taking care?
Well, cat grooming and caring for it is not a single job. There are so many things included. Those are-
Cat’s coat brushing
Bathing.
Tooth brushing,
Checking their eyes and ears, and cleaning
Nail trimming
Cat’s skincare
Identify your cat’s grooming needs:
Look, all cats are not the same. Some cats are high-maintenance cats, like Persian, Maine Coon, and Sphynx cats. other cats need bathing once a week (Sphynx, Bengal, Egyptian Mau cat), and some cat never needs to bathe except for occasional bathing, like Maine Coon, Norwegian Forest cat, etc.
Some cats are shorthaired; some are semi-long-haired, and some are longhaired. Longhaired cats are needed more coat brushing during the shedding seasons, some cats don’t need coat brushing (Sphynx or Devon Rex), and some need just weekly one-time coat brushing.
So, identify the grooming and taking care needs first and then make a schedule of grooming and taking care of your cat. Tail trimming is equal for all cats. In this matter, you don’t need to identify anything as all cat has big nails, and all cats scratch for self-trimming.
grooming, and nail clipping tools
Bathing tools
There are some bathing tools that you’ll need while bathing your cat. Most hairless breeds need at least weekly bathing as dirt, sweat, and oils are deposited in the skin, and bad odors may come from their body, so they need bathing with some tools. Besides, a strong binding will grow between you and your cat while bathing.
The bathing tools are
Treats, special cat shampoo, special cat toothpaste, and toothbrush( tooth bruising sound be made during bathing time.), rinsing cups, non-slip mats, at least 2 towel towels, a pair of old clothes for yourself, special cat conditioner and a helper (if available).
Besides, the environment of the washroom should be eligible for cat bathing. The washroom should have a big space where you can bathe your cat, the door should be shut, and the water should be ready in a bowl because your cat may be afraid to see the running water. The water should be shallow and meets the bottom of your cat’s chest.
You also need a hairdryer to dry your cat’s cat after bathing.
Ear and eye-cleaning tools
Cotton and apple cider vinegar. Use normal water to clean your cat’s eyes.
Nail trimming tools
Nail trimming is a very much important cat grooming and challenging too. So, I will help you to have a better experience. The tools are- trimmers, styptic powder or cornstarch, treats, or cat kibbles.
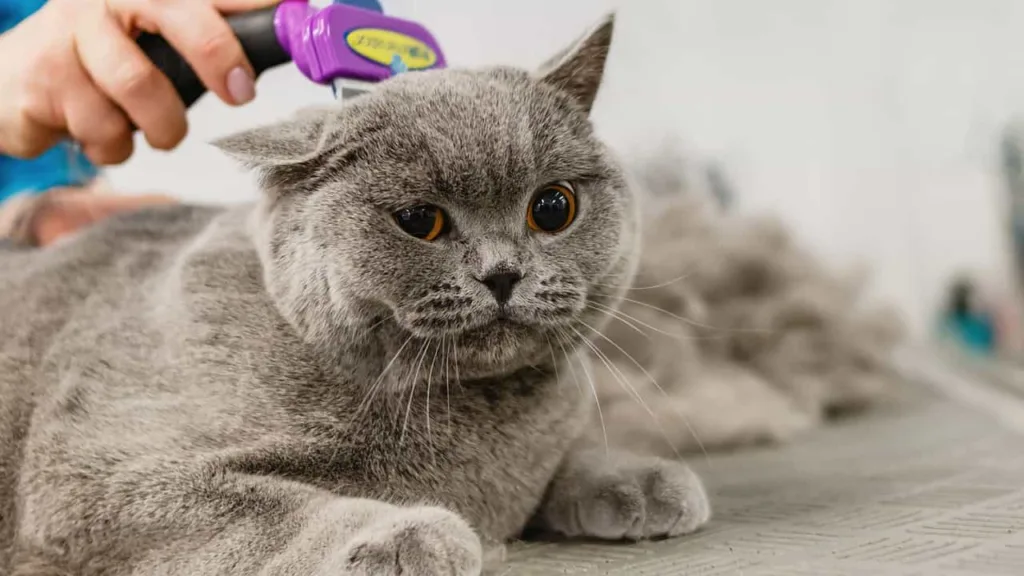
Coat brushing tools
If your cat is longhaired, then you must brush your cat weekly one time, and during shedding season, the brushing session will be ⅔ times. So, you need a comfortable and soft-bristled coat brush. The brush should be metallic or rubber brush.
You also need a safety cap so the furs can’t go to its stomach when you brush your cat’s coat. Thus hairball grows.
You also need an animal clipper to cut off your kitty’s over-long hair.
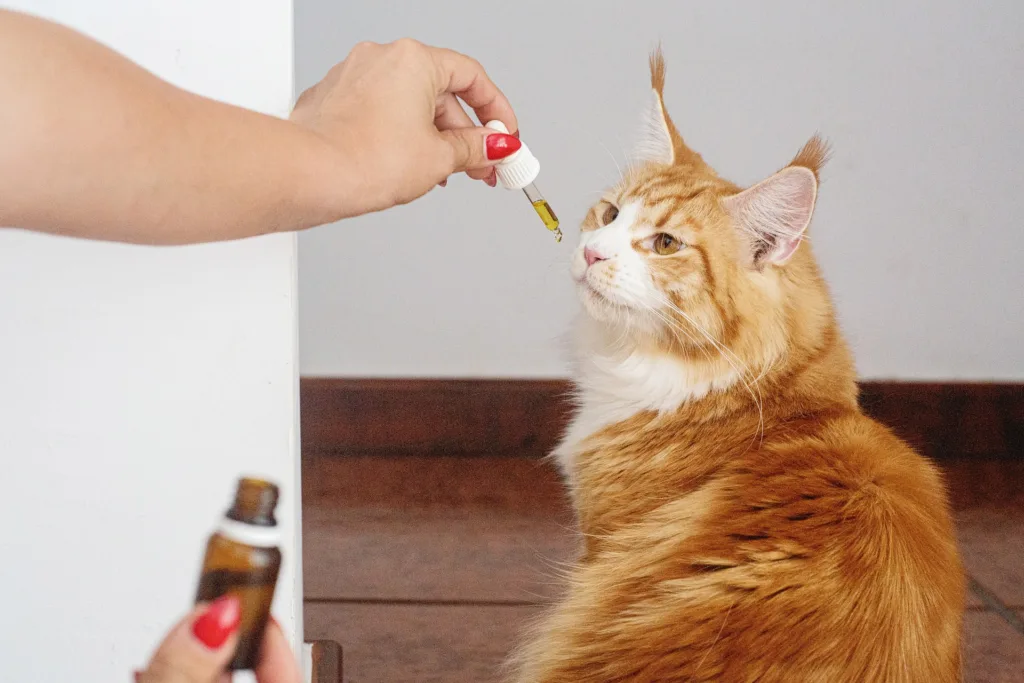
Cat’s skincare tools
Cats need good skincare. If the cat is hairless like Sphynx and Devon Rex cats, skin care is a must for them to save from sunlight and the delicacy of their skin. First, make sure that your cat is getting enough water and that their skin is hydrated. So many good quality skin moisturizers and skin care oils are available in the market. So, purchase them for the well-being of your adorable kitty.
The grooming and taking care procedure of a cat
The cat owners may be puzzled about how to start grooming their cats. What to do before and what to do after. Don’t worry; I will tell you the grooming procedure step by step. First of all, you have to make the grooming session enjoyable.
Step-1: coat care
- Brush your cat’s fur:
Both longhaired and shorthaired cats take very good care of their coats. But they need an extra brushing to keep their coats lush and to remove first grease, matted, and dead hair.
If your kitty is longhaired, then weekly 2 times brushing is required in shedding season; the brushing season should be 3 times weekly.
The brushing session should not be more than 10 minutes. Don’t bother your animals. Keep the session enjoyable for both of you. Brush slowly, and tell your cat you’ll treat him after the brushing session.
- Cut your kitty’s fur:
Most cats don’t need fur cutting. But if your cat’s fur has excessive growth that is matting or if your cat has a health problem, then cutting is required. In the initial stage of your cat parenting, you are recommended to call a professional groomer.
Learn the cutting process from him, and you can do it yourself. Use only clippers, especially for animals. Take a regular break during cutting so that you can see how much fur needs to be cut. Don’t pressurize your cat while cutting, and leave 1 inch of distance to solve hair growth problems and skin issues.
Be extra careful while cutting the hair off the ears, belly, legs, genitals, and anus. You can use scissors if you prefer. Cats don’t like to be restrained. So, you must be careful during the fur cutting of your cat.
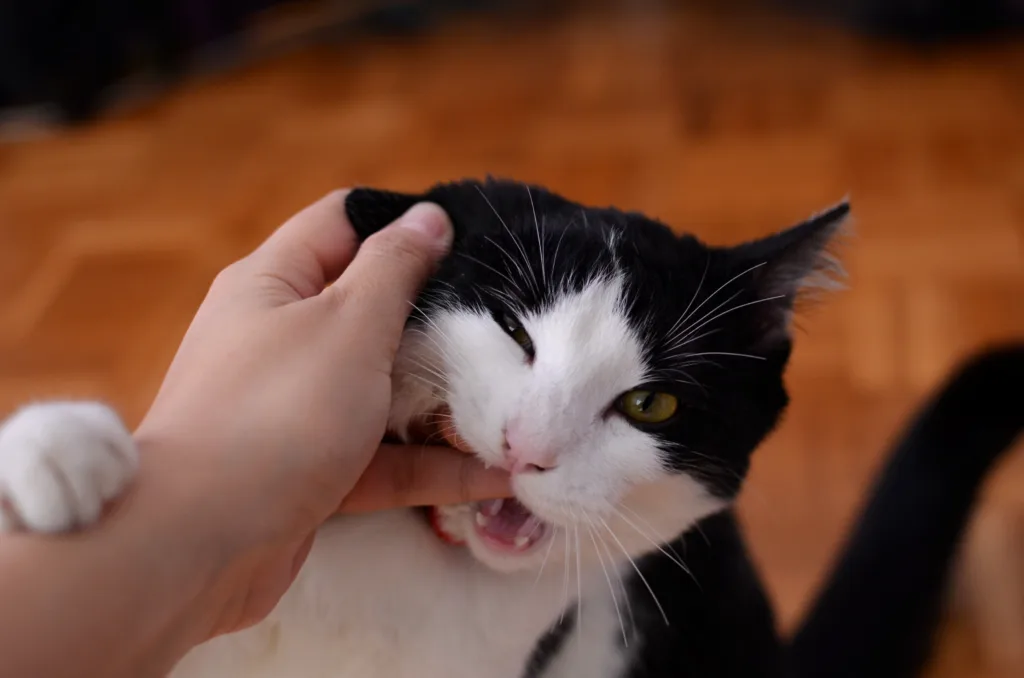
- Check your oral health and brush your kitty’s teeth:
The oral problem is very much common in all cats, in fact, in all animals. So, check your kitty’s oral health weekly and brush his teeth every day so that he does not get any mouth and gum problems. If the gum color changes, it is a sign of a serious health issue.
The normal gum color is pink, but if the gum has become yellowish or faded, don’t take it normally. Check for any sallowness or redness of the gum.
- Check the ears and eyes of your cat:
Eye and ear care is a very important to your kitty’s grooming. Some cats, like Persians, need special care for their eyes because they produce so many tears because o their snub nose. Other cats also need their eyes to be cleaned. So, use cotton balls to clean the eyes. Only water should be used as a cleaner for the cat’s eyes.
Besides, check your kitty’s ears for infection and clean the dirt and debris deposited in the ears. Use apple cider vinagerCats having long ears are prone to getting infected. so I check your cat’s ears weekly for rashes or other abnormalities.
- Bathe your cat:
Furless cats need weekly bathing, and furry cats need occasional bathing if they make their coats dirty for any reason. So, whatever the reason is, you have to follow the bathing rule:
Bath your cat when he is in a jolly mood because, except for some cat breeds, most cats don’t like bathing.
Put a rubber mat on the tab or sink so your cat doesn’t slip. Fill the sink with water, and the water should be lukewarm. Use a rinse cup so that bathing your cat becomes easy.
Now rinse your cat with water first, then apply cat shampoo all over his body and clean it. Ensure your cat’s eyes and ears keep safe from the shampoo. Now rinse your cat’s body well and clean his face with a wet towel. As your cleaned his teeth, ears, and eyes before then, you don’t need to clean them again.
Now wrap him with a towel and take him to a warm place. Then rub the towel gently over his body to soal the water well. If your cat allows you, then you can use a hair drier to make him dry. Give your cat a treat and praise him for a successful bathing session.
- If you don’t have the time to groom and care for your cat, you can hire a professional groomer. This can be expensive, so be aware of the matter. If you don’t have the time and energy and can’t hire a groomer, then cat parenting isn’t for you.
You can hire the groomer from your vet’s office, the local community, or society. You also tell your friends and family to recommend a groomer.
Check the groomer’s service first. If you feel that the groomer will be kind enough to your cat.
Step-2: Some problems during the grooming session:
I must confess that grooming an animal isn’t an easy task. You need to invest a lot of time and energy in your pet. So, you’ll face some problems while you groom your cat. Those problems are:
- Check for your cat’s skin problems:
When you brush or cut your cat’s coat, please look for bumps, bald spots, or cuts. Your cats may have some skin problems and abnormalities, such as
parasites like fleas, ear mites, or harvest mites.
Fungal infections such as ringworm or yeast infections.
Bacterial infections
Feline cowpox
Allergies
Sunburn
Any change in coat color
Trauma for accidental reasons
Drug infections
Hair fall
- Remove fleas:
Fleas often make their home in a cat’s body. You’ll find them during a grooming session. So, you must get rid of the fleas. Fleas can cause itching, skin problems, and tapeworm to your cat’s coat.
Fleas are the most common external parasites of a cat’s coat. You will often see fleas and their eggs while coat bruising or cutting on your cat’s coat. They consume your cat’s blood and leave their body.
Take your cat to the vet to diagnose the problem. Your vet may give you topical oral treatments, shampoo, spray, or powder.
Now follow the instructions of the package. Remember that you have another animal in your house. So, you must follow the package instruction to clean your house from fleas and their eggs.
If your cat goes outside, clean the house to make it flea-free.
- Remove visible ticks:
Ticks are another most common parasite in a cat’s body. Ticks can spread serious diseases in your cat’s body. So, check your cat’s body during grooming or whenever he comes home from outside. Remove the ticks and take your cat to the vet to ensure that your kitty has any disease because of ticks.
Most ticks are visible without any spectacles or magnifying glasses. Ticks are like a pinhead in size. They also suck your cat’s blood. Use gloves to catch the ticks and pull them with your pointer and thumb. Keep the tick in a jar with rubbing alcohol and send them to a lab test.
Now disinfect the affected area of your cat’s body with soap and water and wash your hands.
- Get rid of ear mites:
Ear mites are very much common in kittens and very younger cats.
If your cat is affected by ear mites, then a coffee-colored discharge will be visible from your cat’s ears. You must take your cat to the vet to diagnose the ear mites. The vet will suggest some treatments.
The vet will also suggest how to keep your cat’s ears clean so that your cat can be safe from ear mites in the future. If the vet prescribes any medicine, you must apply it to your cat.
Be aware of ear mites, as they’re highly contagious. So, other animals in your household are also at risk.
Choose a cleaning time for the ear mites when your kitty is in a resting position. Catch your kitty’s ears with one hand, take the cotton ball drenched in ear cleaner, and clean the opening of the ear canal.
Use air cleaner specially formulated for cats. Collect it from a pet store.
Wrap your kitty with a towel and remove the mites when he is calm and holding his earflaps. The cleaning process is the same as the tick cleaning.
After the cleaning, release your cat. Now the cat will shake his head because the debris in his ears may get dislodged. So, after a few minutes, catch your cat by assuring him that everything is ok and clean the debris with a dry cotton ball. Repeat it with the other ear.
- Take care of other problems:
Sometimes your cat may fall into other problems, such as paints or other chemicals. Maybe he touches his eyes or ears with the hand that failed into paints or chemicals.
In these circumstances, you must wash your cat’s eyes or ears affected by skunk or paint. Bather him if necessary. If the cat is sprayed by a skunk, then he should be taken to the vet. The spray is heavy, a blood test is required so your cat can’t develop anemia.
If the cat falls in oil, then immediately bather him. As you know, cats are self-groomers, so they will the oil and try to clean themself. If there is a lot of oil in your cat’s fur, you may call your vet to clean him.
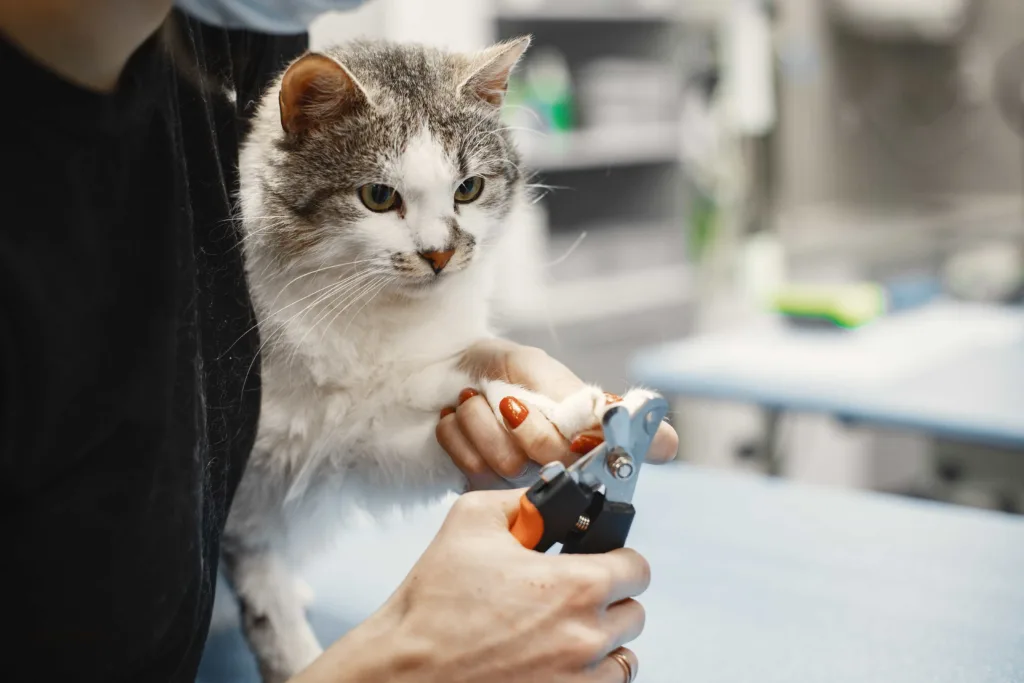
How to trim your cat’s nails
Nail trimming is a very important part of a cat’s taking care procedure. As animals’ nails are very sharp, they can hurt themself and others. Most of the families have toddlers and children. So, sharp nails are not allowed for pet animals.
Now. I will tell you the nail trimming procedure step by step.
Step-1: Before you begin:
As cats don’t like touching their feet, you need to be patient first. Make your cat accustomed to nail trimming and make him understand that big nails harm them and the family.
If your cat has had any bad experiences before, then it is normal that he won’t be agreed to allow you to trim their nails. Kittens are not so much disagree with nailing trimming.
Step -2: Arrange the tools:
Arrange trimmers, styptic powder or cornstarch, treats, or cat kibbles to trim your cat’s nails. You can use human nail clippings for kittens, and for adults, use cat nail clippers. Many cat parents use scissor-style nail clippers or spring-hinge nail trimmers.
Another kind of nail trimmer is called a guillotine-like nail trimmer. You must make some trials to get the perfect nail trimmer for your cat.
Step-3: Prepare your cat for nail clipping:
Schedule a trimming time when your cat gets relaxed. It may be after a meal. Call your cat and take him to your lap. Wait until the cat gets calm.
When it has become calm, take one paw of the cat. If it does not pull it back, offer him a small treat. Try it every day for a few minutes, and keep adding more paws daily.
If your cat becomes anxious or agitated, then go back a step. Get ready for nail trimming when your cat shows you all its paws.
Step 4: Start nail trimming:
The trimming sessions start. Expose the trimmers without moving your cats, and keep praising your cat for his calmness.
As you had several days of preparing sessions, now use the trimmers gently on your cat’s paws. Now keep touching the paws and trimming the nails. Keep remembering your cat that treats are coming.
The preparation process of your cat to trim its nails may take weeks to a month. Kittens learn anything quickly, but adult cats learn at their own pace.
Step 5: Nail cutting of your cat:
Once your cat becomes comfortable with the nail trimmer, nail cutting will be easy. You have learned how to handle your cat’s paws by this time.
Just take one nail for cutting at first. Don’t make a hurry; rather, your cat will become stressed, and he may scratch you.
-first, take a towel and keep it on your lap to catch the cut nails of your cat, and the nails also can dig into your lap. So, a towel on your lap is required. Keep ready a styptic powder or a styptic pen so that if you accidentally cut the cuticle of your cat, then you can stop the bleeding.
– choose a relaxed time for your cat and start with one paw.
– nails are usually white and pink at the base. The pink part is sensitive when the nerves and blood vessels are connected. So, you must avoid the pink part and cut the nails from where the white part begins.
– now squeeze the paws gently as the cat’s nails and paws are retractable, so the paws will be exposed fully by squeezing. Now cut the white part of the nail with the trimmers. Remember to cut the nails from 1 or 2 MM away from the pink part. Keep calm your cat so that he can’t jump on your lap. It will be very dangerous, and maybe your cat get hurt.
– now stop and notice your cat’s mood. Give him a treat. If he is easy with the nail cutting, keep continuing, but if he does not like the cutting session, stop for that day.
Problems during nail trimming or cutting of your cat:
It is very possible that you cut your cat’s nails from very near to the pink part. As a result, your cat will feel brief pain and have some bleeding from the nail. So, you must use styptic powder or a styptic pen on the wounded area until the bleeding stops.
If your cat is upset or irritated, you must stop the trimming session and try it another day.
Some cats are very much stubborn. So, making themself calm is very difficult. If your cat is like that, then you take a helping hand. That means you can take anyone’s help. The person may be your family member, friend, or anyone else. The person will catch your cat so that you can concentrate on nail cutting.
If you discover that trimming your cat’s nails is not done at home, you can take professional help. Take your cat to a vet or professional groomer for regular nail trimming.
Is grooming an older cat more difficult?
Older cats get a bit more difficult to handle than young cats. It is because of their diseases and less mobility that bother them in the sunset years of their life.
Besides, old cats’ skin produces more oils that make the skin matted. So, the older cats need a bit extra help from their human family.
Older cats need more brushing than kittens and young cats. As their hair mats more, you can use talcum powder to remove them. If talcum powder does not work, then you better cut them out.
Besides, older cats’ skin becomes paper-thin. So, I would recommend you take your old cat to a professional groomer to cut their matted hair.
With advanced age, the nails become thicker than old cats, and the outer levels of the nail are hard and shed less. For this reason, there is a strong possibility that ingrown and painful nails will occur. So, a monthly nail clipping is mandatory for your old cat.
How to groom a Maine Coon cat
That is why I mention Maine Coon cat’s grooming process separately. Why do we need to know the separate grooming process of Maine Coon cats?
Well, Maine Coons are one of the largest cat breeds. So, their grooming is a challenging job indeed. Maine Coon Also needs a big house to live in. Anyway, I will tell you the grooming procedure for Maine Coon cats.
Their long hairs are always a concern of their owners. They need regular brushing, occasional nail trimming, and good care of their long hair. As a Maine Coon owner, you need patience and time to take care of a Maine Coon cat.
Step-1: The Brushing of your Maine Coon:
- Arrange the tools: As you know that Maine Coon’s furs are too long, so you need to brush their coats weekly 2 times. A good quality, smooth, and soft brush can help brush smoothly and evenly spread skin oil.
You need 2 different types of brushes. You better purchase it from an online pet store. For the first round of brushing, you need a metallic comb; for the second round, you need a soft bristle or a rubber brush.
Maine Coon cats are prone to matting. So, you should use a sharp pair of scissors to cut matted hairs that are messy and difficult to brush off. For removing mats, you can use a fine-toothed comb.
You better use a rubber mat or a rug. Embed it on the floor and take your Maine Coon on the mat. As Maine Coon has so many hairs so they will fall during brushing; after the brushing session, you can hold the mat and keep those hairs in the waste dry waste basket.
Step-2: Make your cat easy to do a daily routine:
If you have purchased a kitten, getting used to him in routine life will take time. If you’re a first-time cat owner and have purchased a Maine Coon kitten or have adopted an adult Maine Coon then your starting must be slow.
Make the grooming sessions funny and enjoyable. Try to understand the mood of your cat. When he seems calm and happy, start the grooming sessions. Pet your cat a bit to ensure he is in a calm mind.
At the initial stage, the grooming sessions should be short. Never try to perform the full grooming session when you and your cat are new to each other. Just 5 to 10 minutes of grooming sessions will be enough.
If you see your cat getting irritated by the grooming, take a break and treat him. Talk to him so that he can get positive reinforcement to accept the grooming sessions as fun.
When you start brushing, use the metallic comb first. As you know, the Maine Coon breed has two layers of coats; undercoats and overcoats. So, they need brushing divided into two steps for the best Maine Coon appearance.
Using the metal comb, take long strokes from head to tail. Your cat may be distracted from the grooming sessions. So, go slow; you don’t want to hurt your adorable kitty.
When you’ll brush the belly and leg area. Try to become extra careful. Cats usually don’t like to be touched in those areas. As Maine Coons are prone to get their hair tangled in the belly and legs so, you better practice some grooming sessions; especially when your cat is new to you. Practice makes a man perfect.
When brushing the cat’s tail, gently grab it from the middle and then brush both sides (upper and lower).
Now the second stage of brushing means brushing with the rubber comb or bristle. Once the brushing with the metal is done, you should use a rubber or bristle brush to remove dead hairs.
Brush upward so that you can touch both layers of the coats. You need to be gentle and slow in the belly and leg area.
Now clipping out the mats. Longhaired cats need more hair trimming as their furs get matted more. Maine Coons are very large cats. So, you better take the help of anyone who will catch the cat, and you will trim their furs.
You can make a barrier between the cat’s skin and the mat using the fine-toothed comb. Be careful that the furs shouldn’t be pulled. As animals become aggressive, getting hurt. So, be very much careful to perform the challenging sessions.
The clipping session should be quick because your cat may not like to be stuck with a comb and scissors. So, he may try to run away. So, do it swiftly but carefully so that the skin doesn’t cut and your cat gets hurt.
Cats have signs of becoming aggressive and angry such as hissing and growling. If you see your cat doing that, then pause the trimming session. You can do it again later.
Step-3: Bathing a Maine Coon cat:
Maine Coons are longhaired cats and used to live in extremely cold weather. So, bathing is not so necessary for them. Only you can bathe them occasionally. If your cat gets dirty, you need to bathe them as you know that long coats are messy in a dirty condition.
Arrange the supplies first. Maine Coons are needed to be bathed once in a few months. Their longhairs can get more dirt and dust. If your Maine Coon is an outdoor cat, then bathe them once a month.
Before you start the bathing process, gather all the tools for bathing. The arrangements are as follows-
Tell someone to help you in bathing your Maine Coon. Most cats don’t like water and bathing as well, and the size of your cat is also larger, so you need someone’s help. If you can’t find someone, do it alone with great care.
Purchase a high-quality cat shampoo. Don’t use human shampoo, as a cat’s skin hasn’t been designed for human products. You’ll also get cat shampoo in any pet store and online store.
Arrange 2 big towels and a big rinse cup or bucket to easily rinse the cat’s body. You also need a rubber mat to embed on the bathtub so you cannot slip. As Maine Coons are very large cats, you should try to bathe them in the sink. The bathtub will be the best.
Now prepare the bathtub. Fill the tub with water. Don’t worry; your Maine Coon won’t sink. It is comfortable for your cat to bathe with lukewarm water. Maine Coons live in extremely cold conditions. So, lukewarm is very much needed for them.
Now hold your gently and take him to the bathtub. Cats usually don’t like to climb on water. In this situation, you must pet your cat and talk to him in a sweet voice so that your cat can understand that the bathing session will be enjoyable. Tell your helper to help him to get the cat into the bathtub.
Now rinse your cat’s body from head to paws and apply shampoo very gently so that your cat can’t get irritated; you must shut the washroom door so your cat can’t run away. Applying shampoo should be slow to ensure that the whole body is wet and covered with shampoo very well.
The coats of Maine Coons are very thick and don’t get wet easily. So, you need to rinse his body many times with a cup or bucket and use your other hand to get the coat.
Now take a good amount of shampoo for your big-bodied cat and apply It throughout his body. Never neglect the belly and leg area to apply shampoo. Add more water if it is needed to lather the shampoo.
Now rinse your cat and wash away the foam very well with both hands. Cats are prone to lick their body. So, wash the whole body, including the belly and legs, to make sure all shampoo is out.
Keep washing your cat till it suds or reduce coming from your cat’s fur. Ensure the cat’s eyes and mouth are safe from the foamy water. Otherwise, your cat may get irritated. You can squeeze your cat’s fur for the check to ensure the cat has become clean fully.
When the bathing process is done completely, get your cat out of the bathtub and keep him in a dry palace in your washroom. Now wrap him with a towel and use the towel all over the body to soak water fully. If your cat allows you, then use a hair drier to make him dry very well.
When your cat has become fully dry, give him a treat and praise. Don’t let your cat out until the whole body is air-dried.
Step 3: Clipping Maine Coon’s nails:
Nail clippings are the same for all cats. As cats don’t like their paws to be touched so, you must keep patience to go through the procedure. First, fix a schedule for cutting the nails when your cat is calm. It may be after a meal or your cat’s napping time.
Take your cat to your lap, pick just one paw, and squeeze it. Cat’s natural behaviour is that they don’t expose all their paws together simultaneously. So, keep patience and just show the trimmer to your cat. If you become uncomfortable, then pause the session and do it another day.
Some cats quickly get used to new things, and some take time. So, it will take up to one month to become fully comfortable to show all the paws together and with the trimmer.
After that, start the nail-cutting session. Embed a tool on your lap so the cut nails can’t fall on the ground. Cut the nails one by one. If your cat gets irritated, stop it for that day and do it another day.
As Maine Coons are difficult to handle for their king-like size, you can take the help of anyone, such as your family member or friend or anyone else. The helper will hold the cat so that you can concentrate on nail clipping.
If still, it is difficult for you to handle your Maine Coon then I would recommend you to take professional help. Take your Maine Coon to the vet’s office or a local and professional groomer for a regular nail-clipping session. You can choose a special nail clipper for the clipping session.
Final step: the rest of grooming and taking care of your Maine Coon:
The grooming and taking care process is a bit stressful for cats. After being brushed, bathed, and having their nails cut off, the cats may feel stressed and sometimes needs to come down. So, I recommend you leave your cat alone for some time or hours. Give a treat and praise your cat after the grooming sessions.
As Maine Coons have such long hair, so, when you cut their hair, it will be huge in amount. So, clean the loose hairs and keep them in the dry wet basket so the furs can’t spread here and there and fly in the air. Besides, cats are prone to lick the floor. So, if you don’t sweep the floor, the hairs may go to your cat’s stomach.
Save your Maine Coon from hairballs:
You know that Maine Coons have long hair, and longhaired cats are more prone to develop hairballs in their stomach. Regular grooming, frequent brushing, and haircutting can prevent hairballs, but some diets can be adjusted with their grooming.
There is some special food that is designed for hairballs. You must take your vet’s advice to purchase them. Besides, some oils like Avocado and other vegetables and fruit oils can help prevent hairballs.